Writing Your First Rapp
We want to show you how to write a rocon application (rapp). It is a bunch of instructions how to launch the application, something like a wrapper which has special structure and logic. You can find more information in Rapp Specification Document.
We will write a rapp for turtlebot_follower package.
Prerequisites
This lesson is a continuation of the previous lesson: “Multiple TurtleBots in Concert”. If you have not done that lesson, do it firstly.
Creating follower Rapp
1. Create a package my_rapps.
cd ~/my_ws/src
catkin_create_pkg my_rapps
2. Create a folder for follower rapp.
cd my_rapps
mkdir -p rapps/follower
3. Copy files from
github.
There are four files: follower.interface, follower.launch, follower.rapp,
follower_bubble_icon.png. You can find more information about these files in
Create your First Rapp
lesson or on rocon page.
4. Create an empty follower.parameters file.
touch follower.parameters5. Modify follower.launch file. Change default simulation value to true.
Old value:
<arg name="simulation" default="false"/>New value:
<arg name="simulation" default="true"/>6. Add this string in follower.rapp file.
public_parameters: follower.parametersThe result:
display:           Follower
description:       Take the TurtleBot for a stroll. TurtleBot will follow whatever is in front of it.
compatibility:     rocon:/turtlebot
launch:            follower.launch
public_interface:  follower.interface
public_parameters: follower.parameters
icon:              follower_bubble_icon.png
7. Export the rapp in my_rapps/package.xml file by adding this string
in <export> tag.
<export>
  <rocon_app>rapps/follower/follower.rapp</rocon_app>
</export>
8. Build package.
source /opt/ros/indigo/setup.bash
cd ~/my_ws/
catkin_make
Testing
1. Change the path.
source ~/my_ws/devel/setup.bash2. Show existing rapps.
rocon_app listYou will see the long list.

rocon_app list
Find my_rapps.

my_rapps
3. Show information about your rapp.
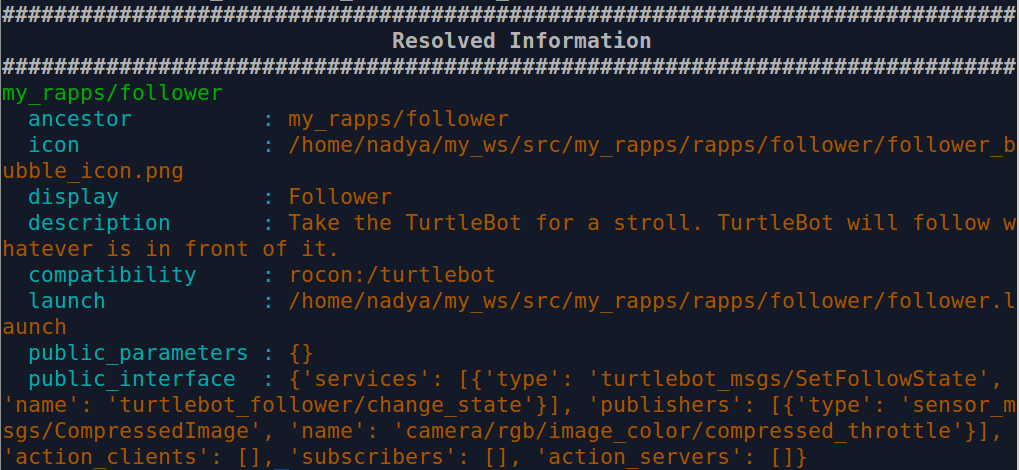
rocon_app info my_rapps/followerYou will see this output.

my_rapps Information
Modifying gazebo_concert Package
1. Edit gazebo.parameters file.
cd ~/my_ws/src/rocon_tutorials/concert_tutorials/gazebo_concert/solutionsModify robot_rapp_whitelist for each robot.
Old value:
robot_rapp_whitelist: [rocon_apps, turtlebot_rapps]New value:
robot_rapp_whitelist: [rocon_apps, turtlebot_rapps, my_rapps]2. Build package.
source /opt/ros/indigo/setup.bash
cd ~/my_ws/
catkin_make
Running follower Rapp
1. Change the path.
source ~/my_ws/devel/setup.bash2. Launch gazebo_concert.
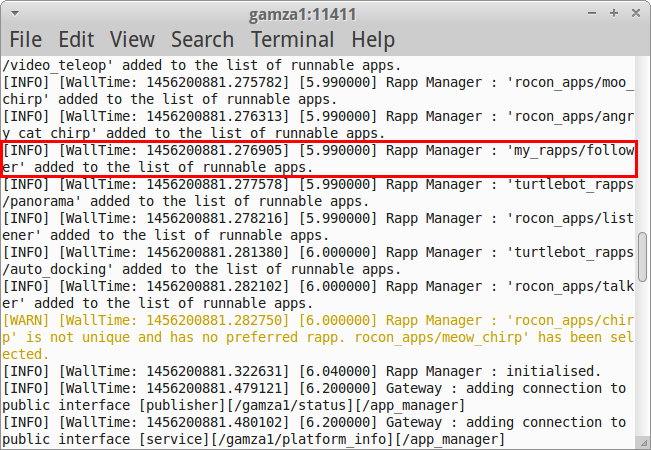
roslaunch gazebo_concert concert.launchYou will see these strings in each robots terminal.
[INFO] [WallTime: 1456200881.276905] [5.990000] Rapp Manager : 'my_rapps/follower' added to the list of runnable apps.
Rapp Manager
3. Start rocon_remocon.
rocon_remocon4. Press Refresh.
5. Select Gazebo Concert->User->Gazebo Viewer.
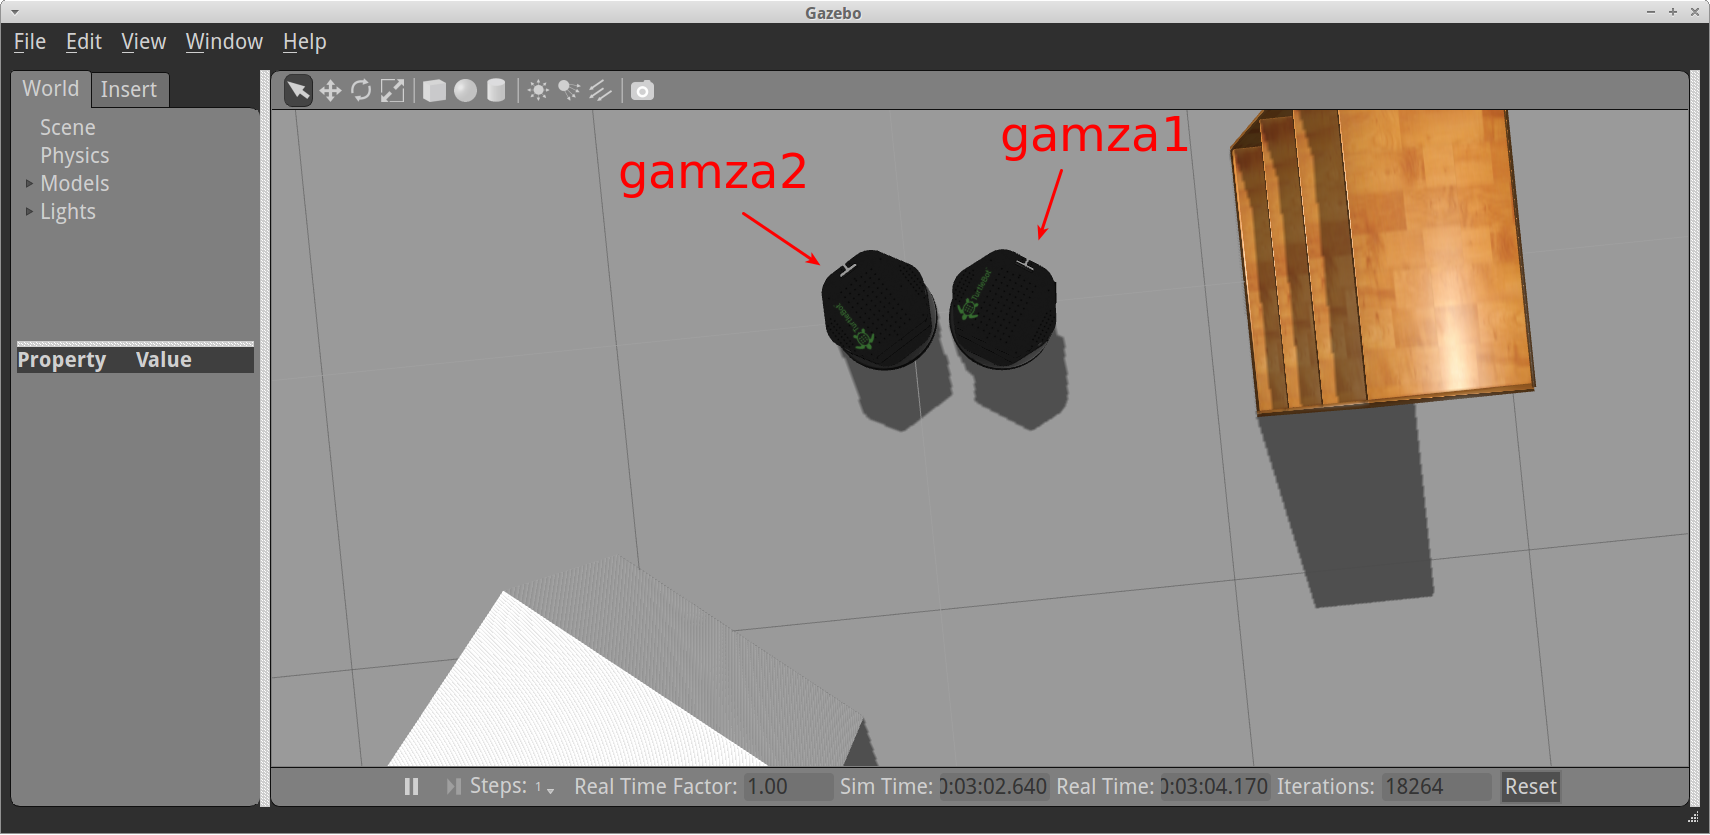
You will see the familiar gazebo world.

Gazebo Concert
6. In a new terminal start follower rapp.
rosservice call /gamza2/start_rapp my_rapps/follower [] []
# Output:
started: True
error_code: 0
message: Success
application_namespace: gamza2
You will see in gamza2 terminal:
[INFO] [WallTime: 1456201608.858077] [15.600000] Rapp Manager : request received to start rapp [my_rapps/follower]
[INFO] [WallTime: 1456201608.858627] [15.600000] Rapp Manager : starting app 'my_rapps/follower' underneath gamza2
NOTE: Only one rapp can be run at one time, otherwise a resource conflict might occur.
7. Select Concert Teleop in Interactions Chooser.
8. Select gamza1 in the resource list and capture it.
9. Drive gamza1 using joystick to initiate following behavior.
10. Stop rapp.
rosservice call /gamza2/stop_rapp
# Output:
stopped: True
error_code: 0
message: Success
11. Interrupt the processes. Close the windows.
You can watch these steps in the video:
Writing Your First Rapp
We have finished with robot side, go to the next lesson to write user side.