Following the Route Using Code
We will combine our skills from two lessons: “Going to a Specific Location on Your Map Using Code” and “Taking a Photo Using Code”. The TurtleBot will go from the start to each goal from the list and take a photo in every position.
We will work with the files from github repository.
You can find the information how to clone the github repository in
“Writing Your First Script” lesson.
We assume that your files are situated here ~/helloworld/turtlebot.
Launching Script
1. Launch Gazebo.
roslaunch turtlebot_gazebo turtlebot_world.launch2. Run navigation demo.
roslaunch turtlebot_gazebo amcl_demo.launch3. Open a new terminal and change directory.
cd ~/helloworld/turtlebot4. Launch script.
python follow_the_route.pyYou will find explanations below.
5. See the results. Open image file.
eog bookshelf.jpgNOTE: You can use image viewer which you prefer.
You will see the image:
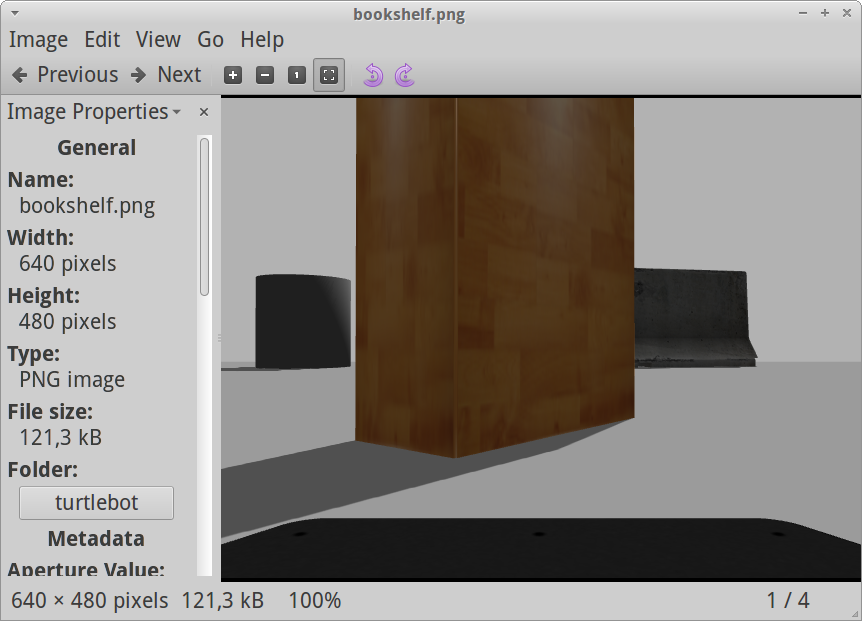
Bookshelf.jpg
6. Interrupt Gazebo. Close the terminals.
You can watch these steps in the video:
Following the Route Using Code
Explanations
We use the code go_to_specific_point_on_map.py and take_photo.py from
previous lessons. Follow_the_route.py reads input data from route.yaml file.
The YAML file has three lines. It means that there are three goals. Look on the
first line:
- {filename: 'dumpster.png', position: { x: 0.355, y: -0.2}, quaternion: {r1: 0, r2: 0, r3: -0.628, r4: 0.778}}The dumpster.png is the image title for picture. The position and quaternion
set the goal: the place where TurtleBot takes a photo. We discussed how to
define position and quaternion values in
“Going to a Specific Location on Your Map Using Code”
lesson. You can modify this YAML file.
NOTE: You should use one space between - and { in the beginning of
the line in YAML file. For more information read official YAML documentation.
If TurtleBot cannot reach the goal it does not take a photo and goes to the
next goal in the list. If you want to stop TurtleBot you can press Ctrl+C.
You can read comments in the follow_the_route.py file.