Creating a Map
This lesson shows how to build a map which lets the robot remembers the environment. TurtleBot can autonomously navigate around using the map.
Creating a Map
1. Create a folder for maps.
mkdir ~/turtlebot_custom_maps2. Launch Gazebo world.
roslaunch turtlebot_gazebo turtlebot_world.launch3. Start map building.
roslaunch turtlebot_gazebo gmapping_demo.launch4. Use Rviz to visualize the map building process.
roslaunch turtlebot_rviz_launchers view_navigation.launch5. Change the option.
Local map->Costmap->Topic (choose /map from drop-down list). See on the
picture:
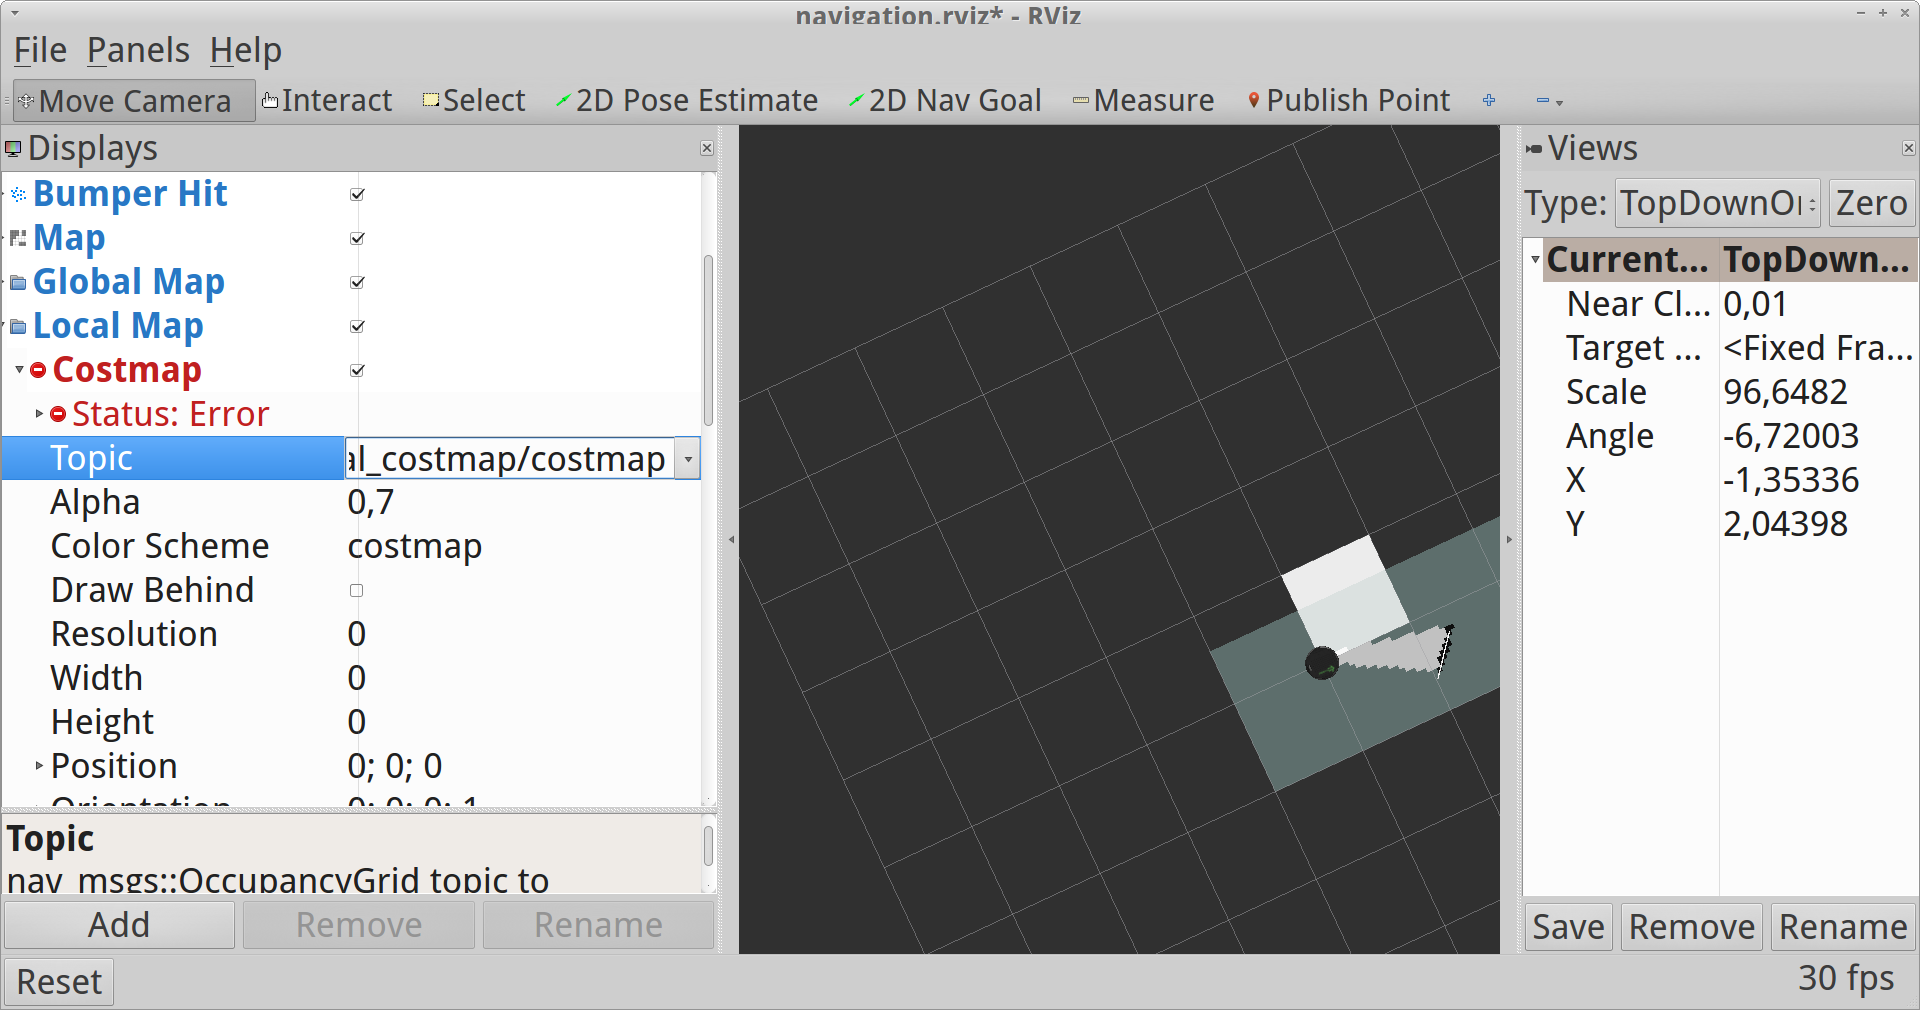
Change the Option
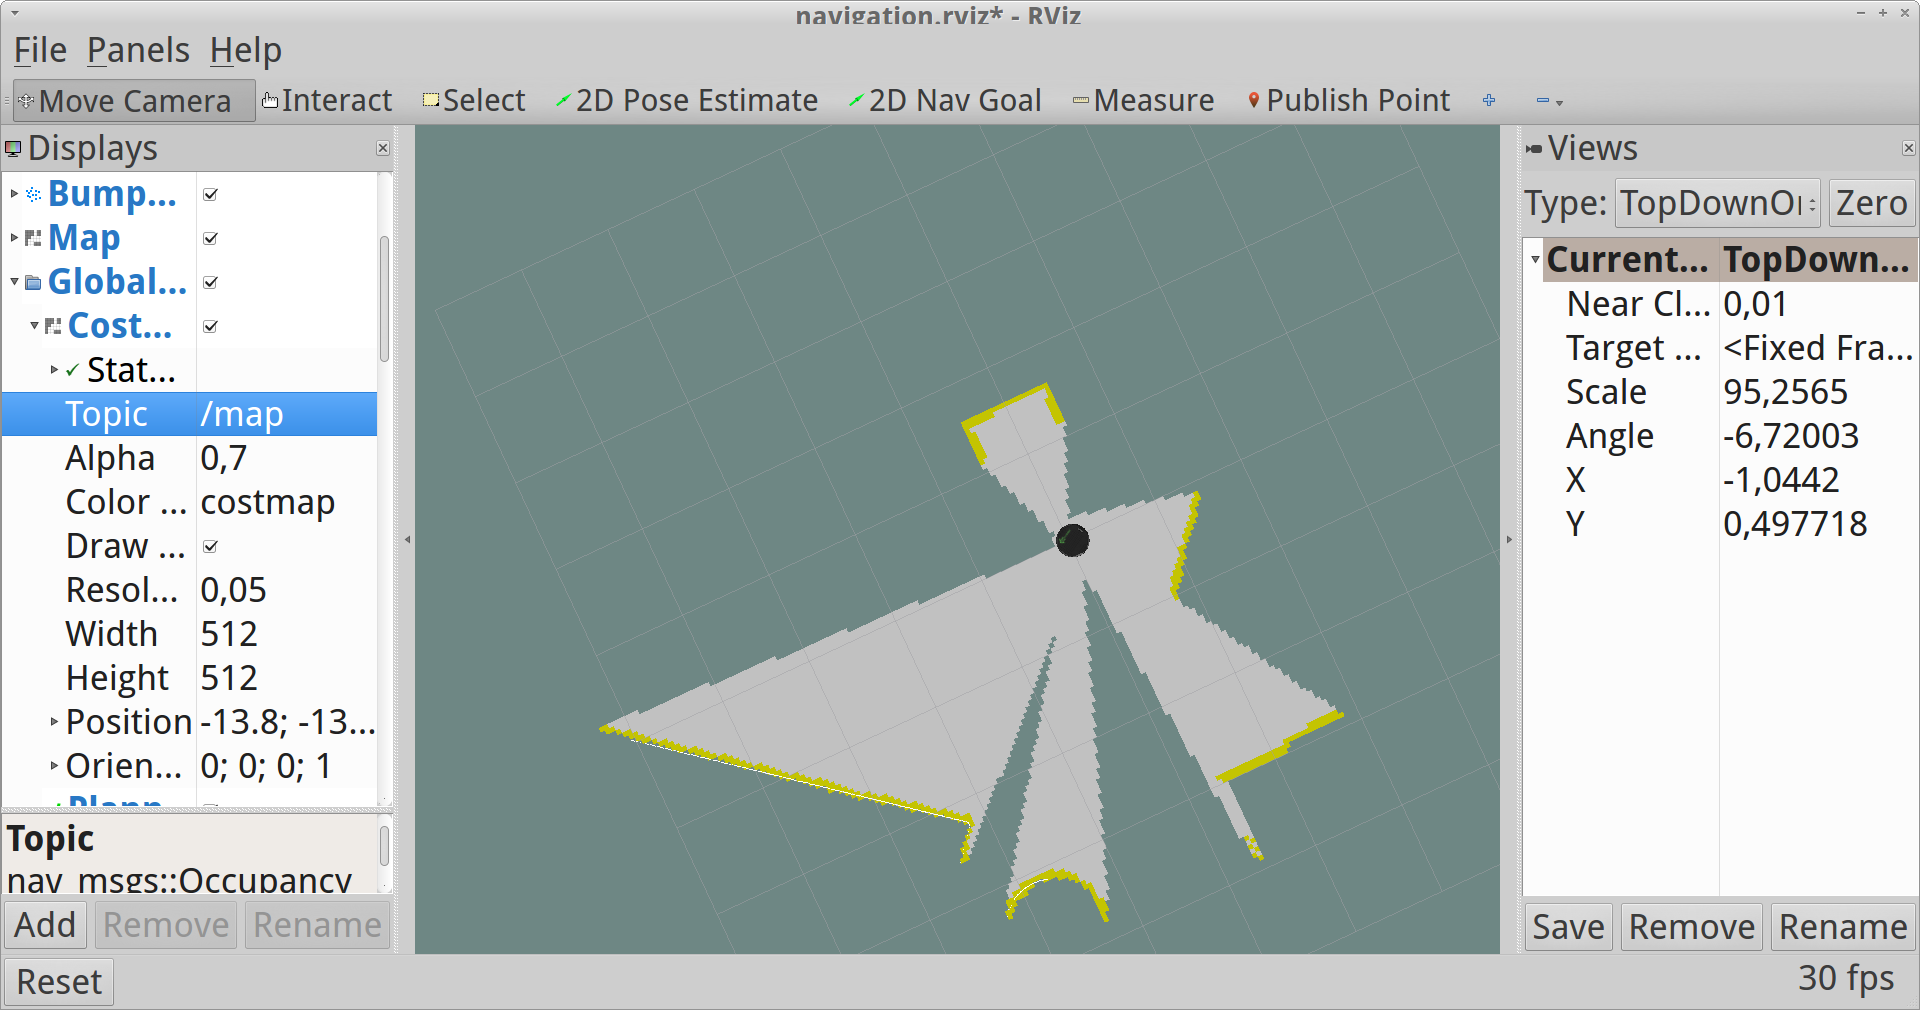
6. Change the option.
Global map->Costmap->Topic (choose /map from drop-down list).
7. Launch teleop.
roslaunch turtlebot_teleop keyboard_teleop.launchNOTE: If you want you can use other tools, for example interactive markers, find the information here.
8. Drive the TurtleBot around.
NOTE: The terminal with teleop launching has to be active all the time otherwise you won’t be able to operate the TurtleBot.
This is a picture of 360-degrees turn:
360-degrees Turn
9. Save a map when your picture is good enough (like this).
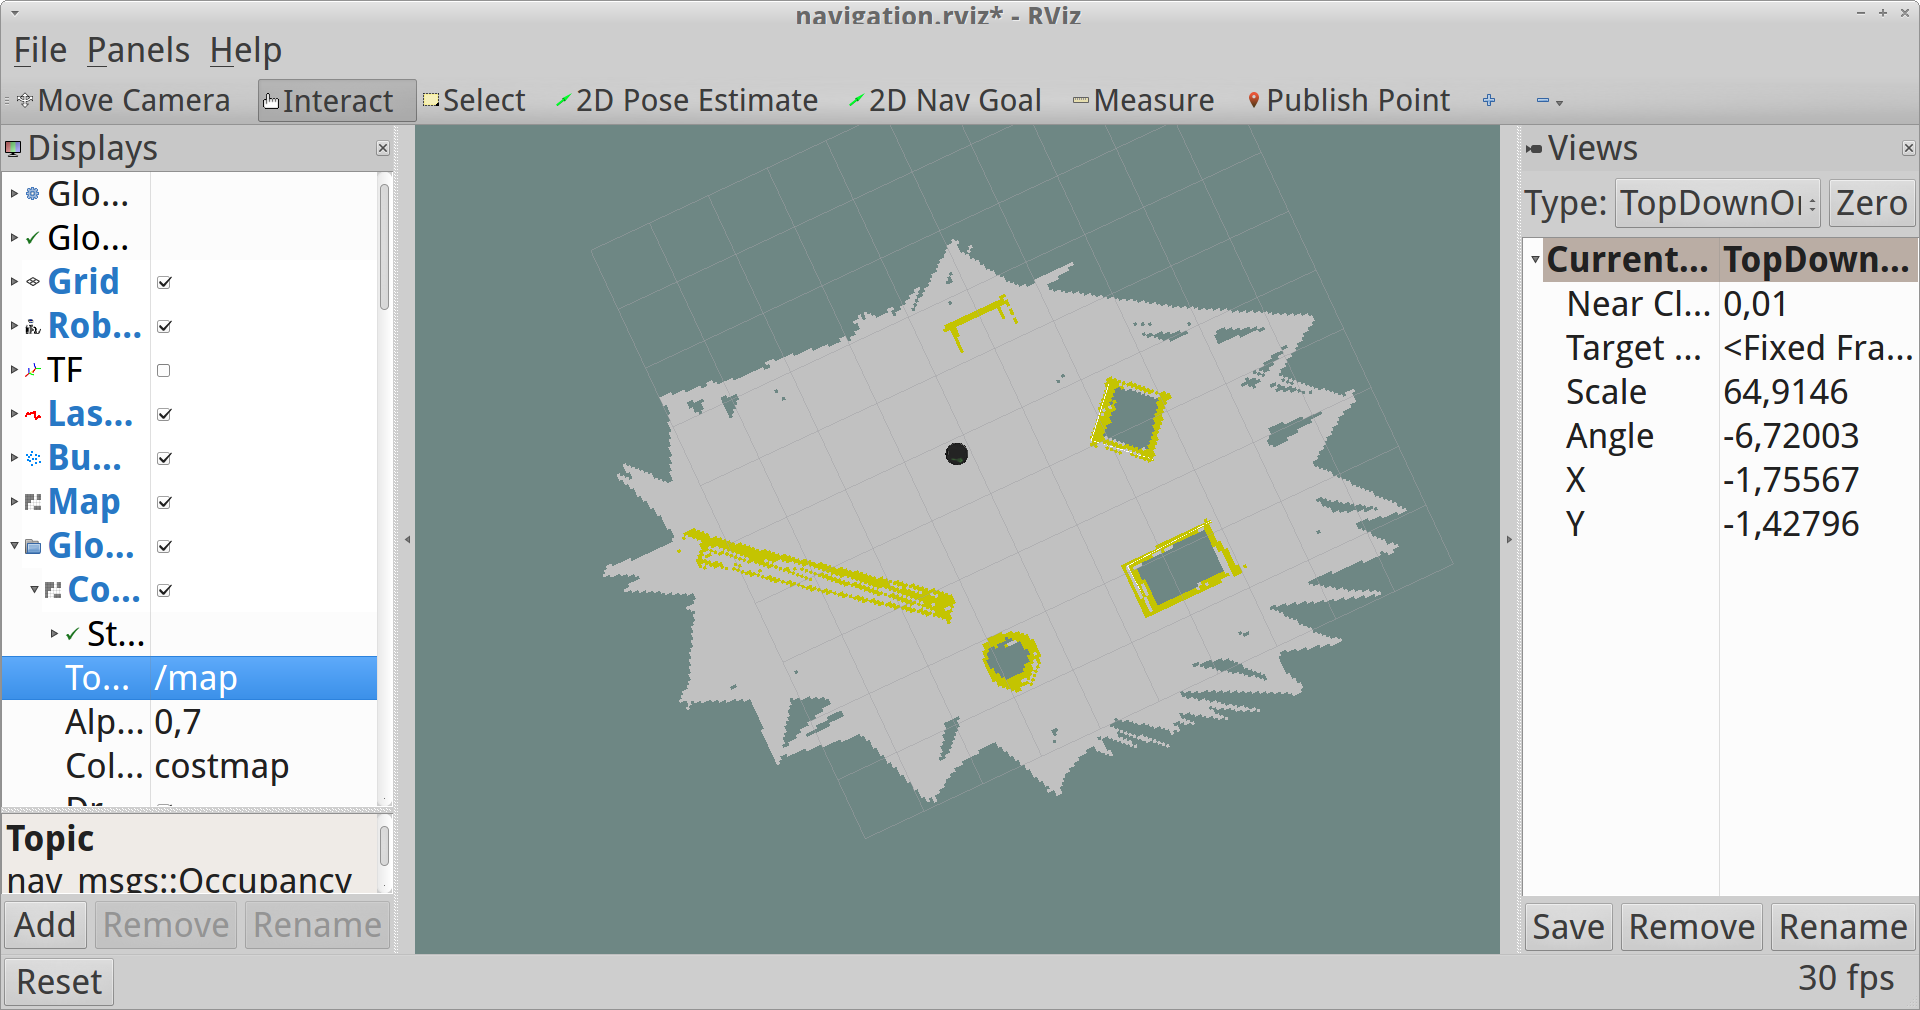
Map
rosrun map_server map_saver -f /home/<user_name>/turtlebot_custom_maps/tutorial10. Interrupt processes and close the terminals.
You can see all these steps in the video:
Creating a Map
Testing the New Map
We can test the result of our work.
1. Launch Gazebo.
roslaunch turtlebot_gazebo turtlebot_world.launch2. Launch navigation demo.
roslaunch turtlebot_gazebo amcl_demo.launch map_file:=/home/<user_name>/turtlebot_custom_maps/tutorial.yamlYou can launch the default map for playground world if you have not your own map. Run this command:
roslaunch turtlebot_gazebo amcl_demo.launch3. Launch Rviz.
roslaunch turtlebot_rviz_launchers view_navigation.launch4. If you see a picture like this then creating the map has been realized successfully.
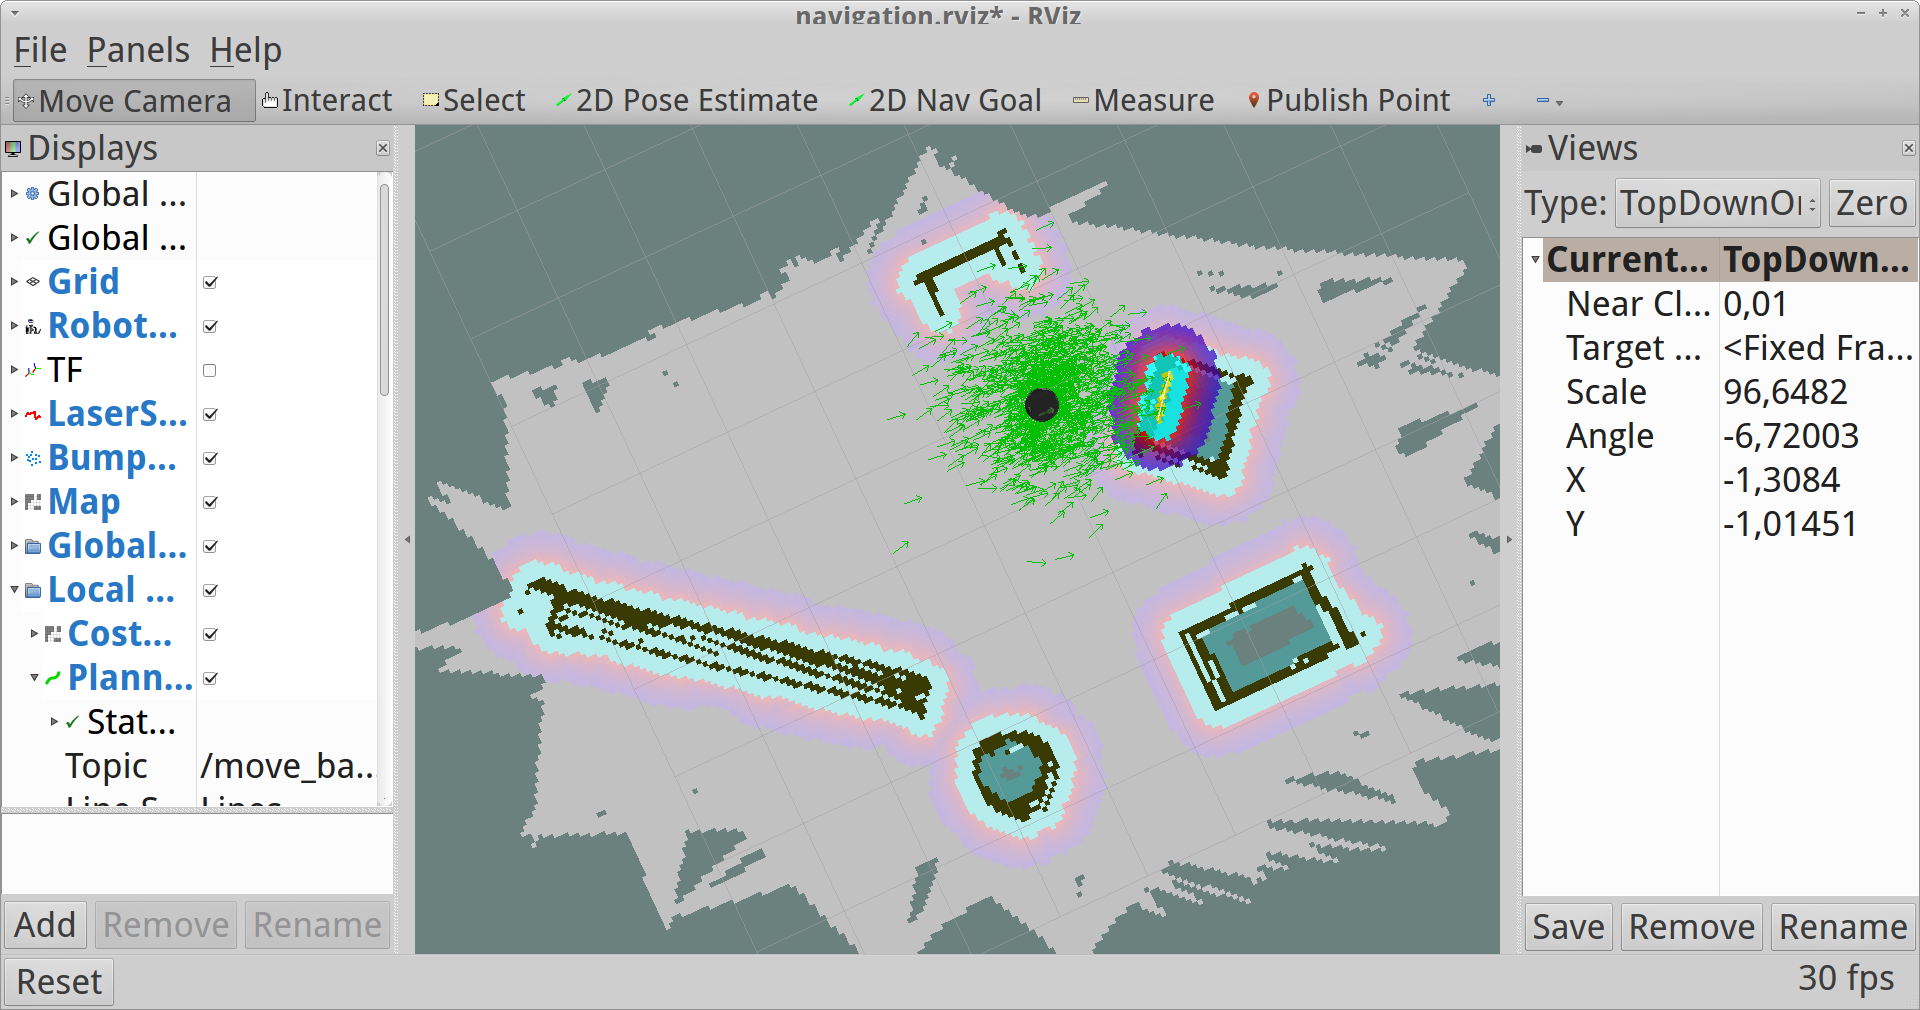
Testing the Map
NOTE: We will explain you the meaning of new elements in the next tutorial.
5. Interrupt processes and close the terminals.
You can see all these steps in the video:
Testing the New Map
We have just checked that everything works good. We will learn how to use the map for autonomous navigation in the next lesson.